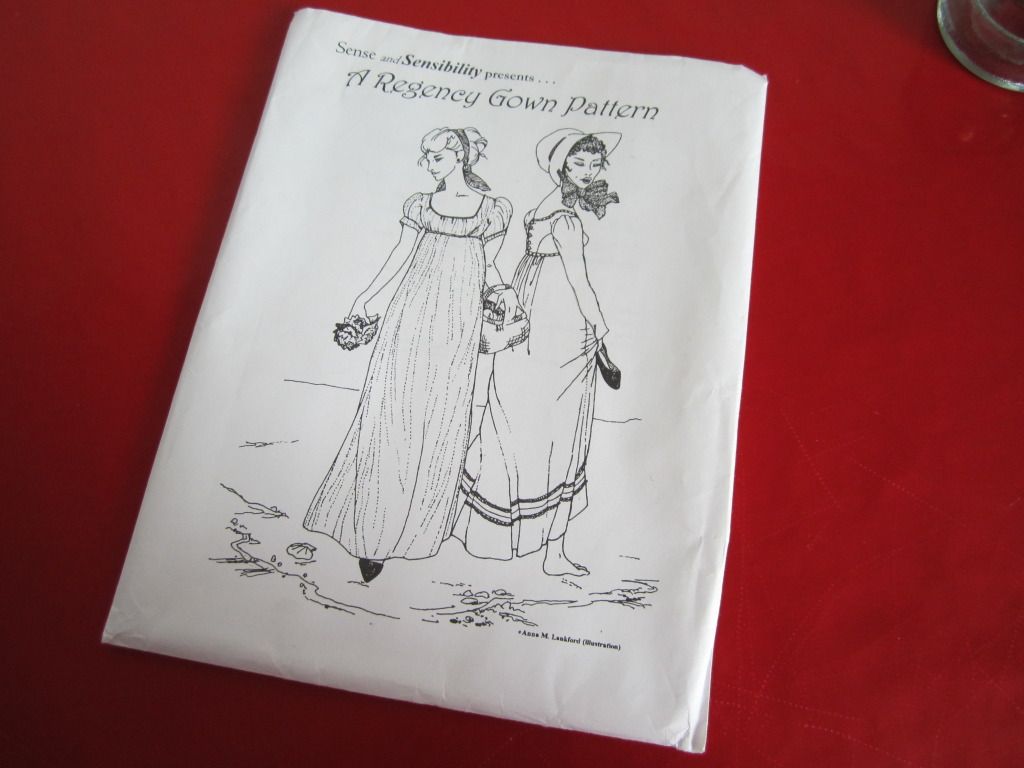
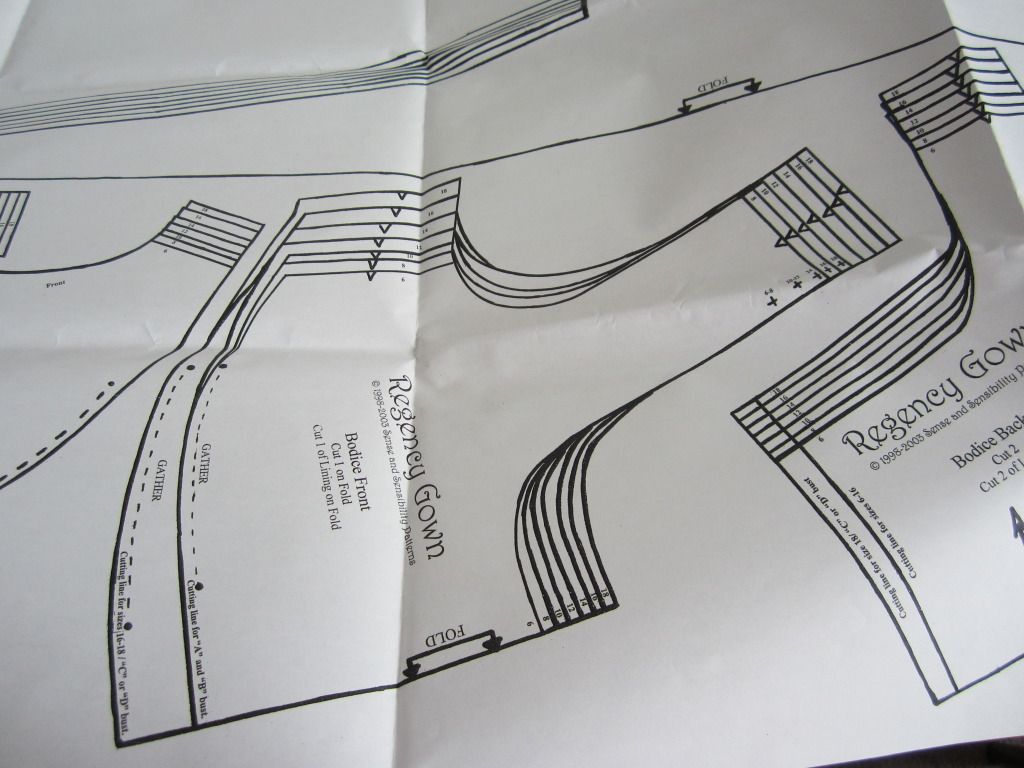
The pattern contains multiple sizes, so the first step is to trace off the size closest to The Princess. I traced off size 14.
I only traced out the bodice so far as that is the part that will have to be carefully fit to The Princess. The skirt doesn't matter at this point.
The pattern is printed on very sturdy paper with nice dark lines for tracing. I just used some leftover tissue paper.
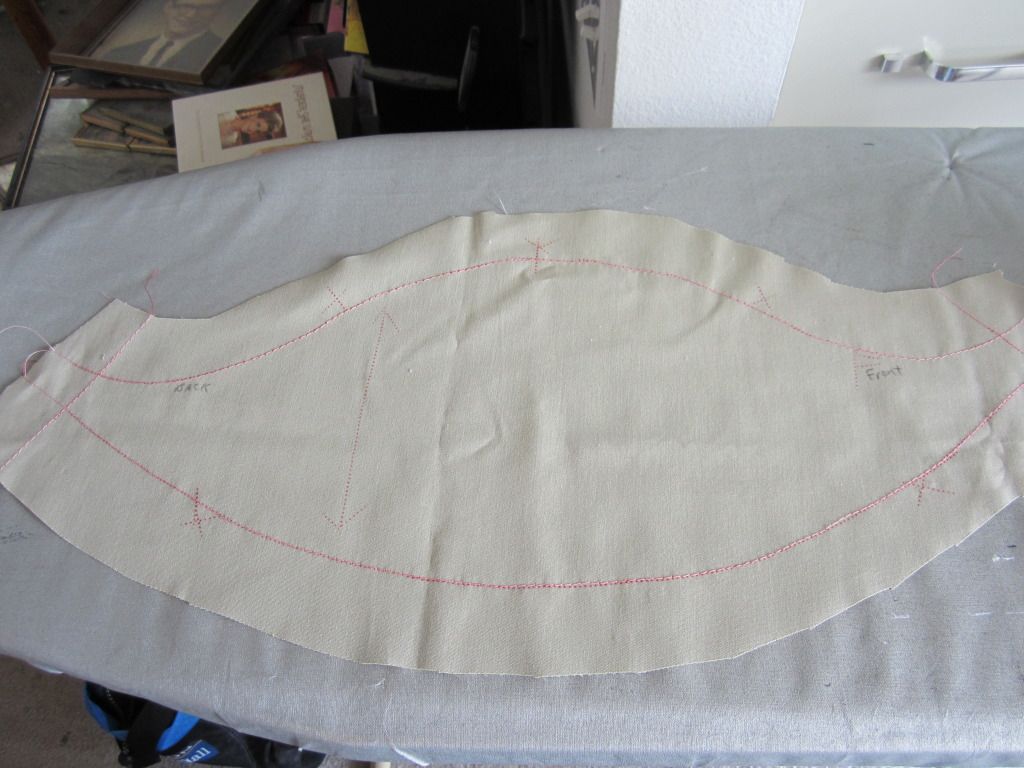
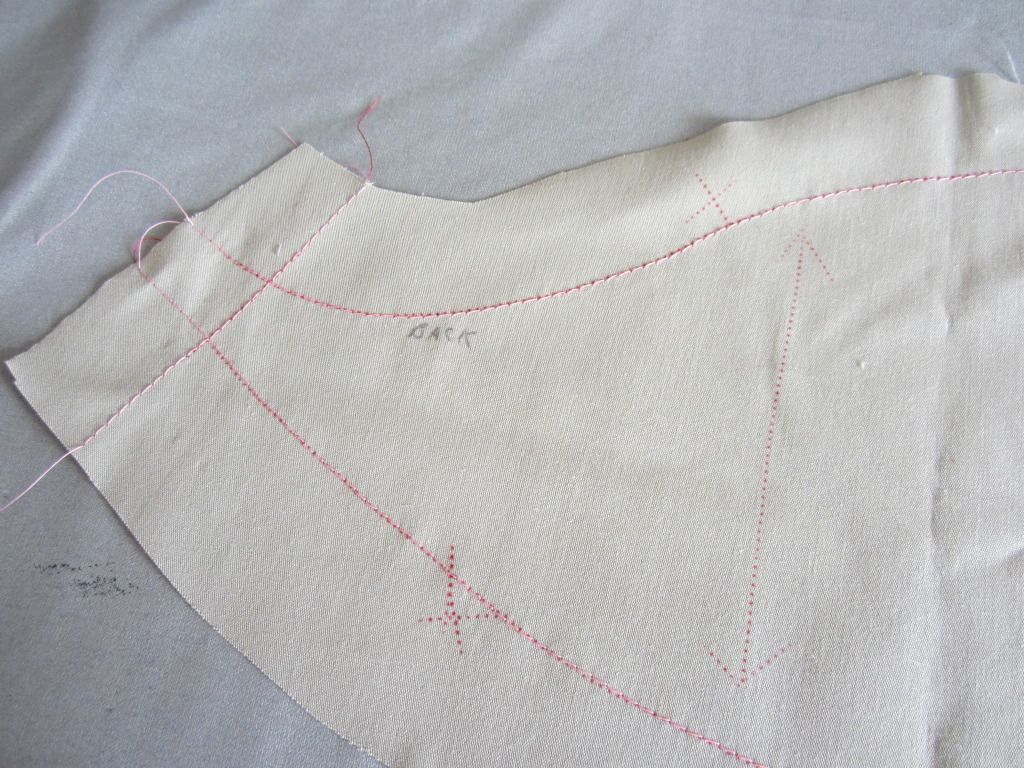
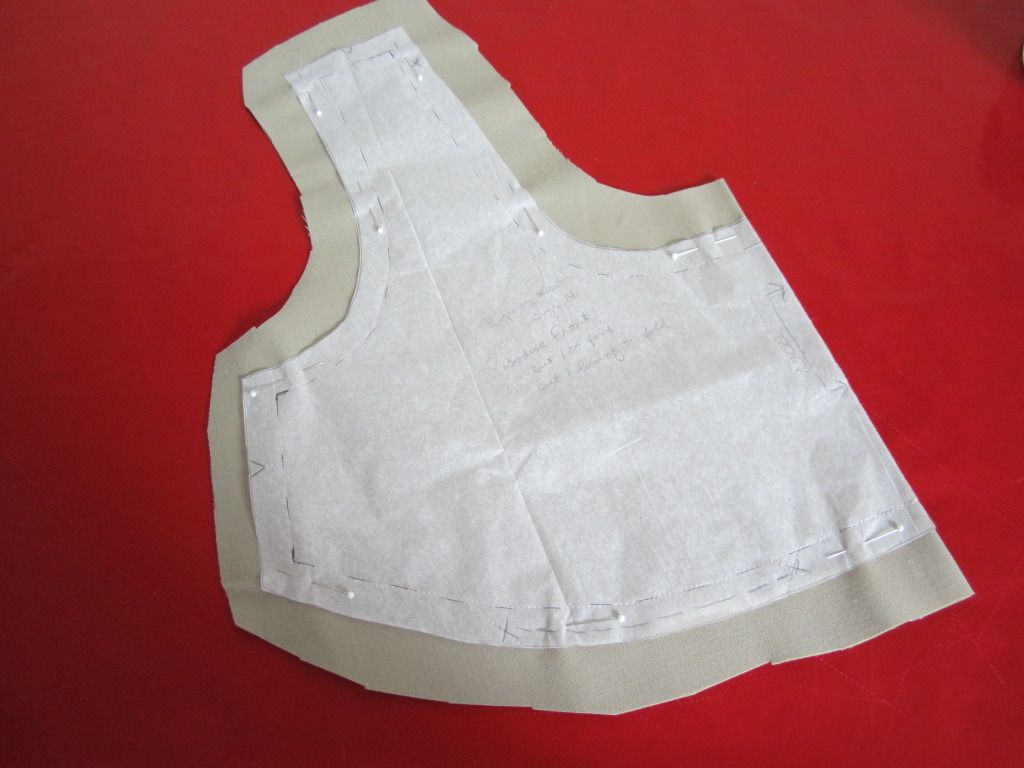
There are a number of things going on in the above photo. After I traced the printed cutting lines for size 14 onto the tissue paper and cut out that traced piece, I used my little adjustable ruler to write in the actual stitching lines. That is the dotted line penciled in exactly 5/8" from the cutting line. I then pinned the tissue to some icky practice fabric that is about the same weight as our actual fashion fabric. This will be our fitting "muslin" - some call it a toile. After pinning the pattern piece to the muslin, it is then cut out with very generous margins as you see above.
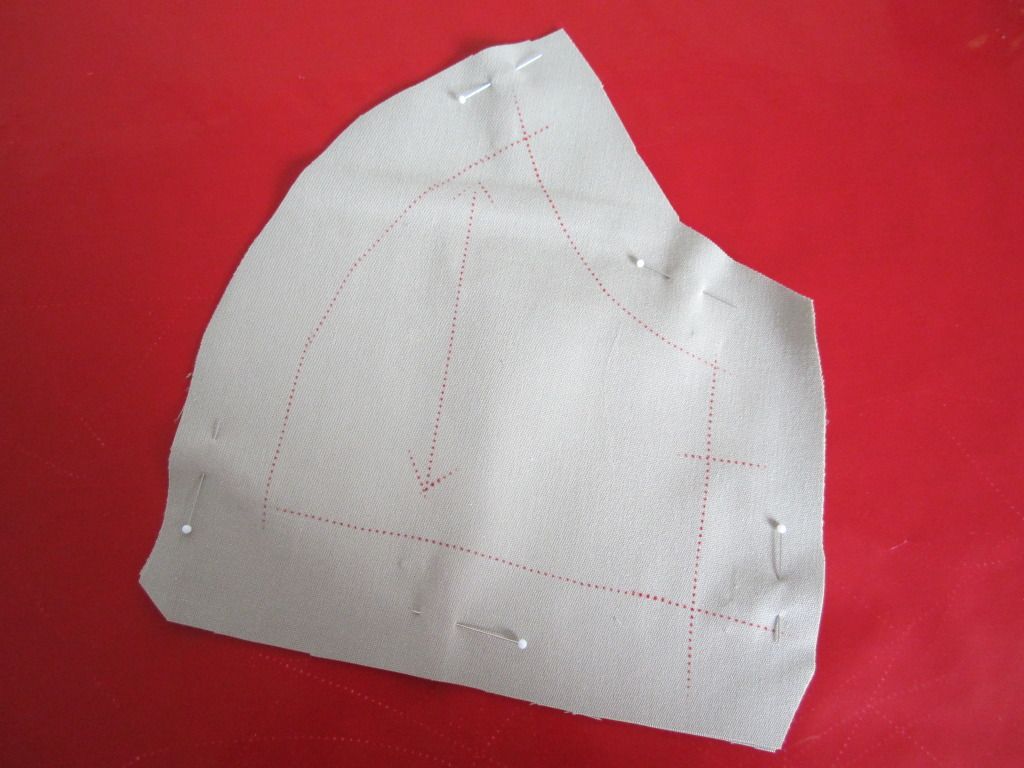
The red background you see is not a table - it is a large piece of waxed carbon tracing paper. This is where the magic begins. (This particular carbon paper can only be sourced from
Richard the Thread) Before removing the white traced paper, carefully use a tracing wheel to mark all the *stitching lines*. Not the cutting lines - the stitching lines only. Also mark all notches and grain lines - and any other pertinent marks needed. Now remove the white paper and flip the pattern piece over and trace the stitching lines on the reverse side so that both pieces are now marked with stitching lines and other important fitting notations.
The Princess will take over for the next step - - - more to come.